


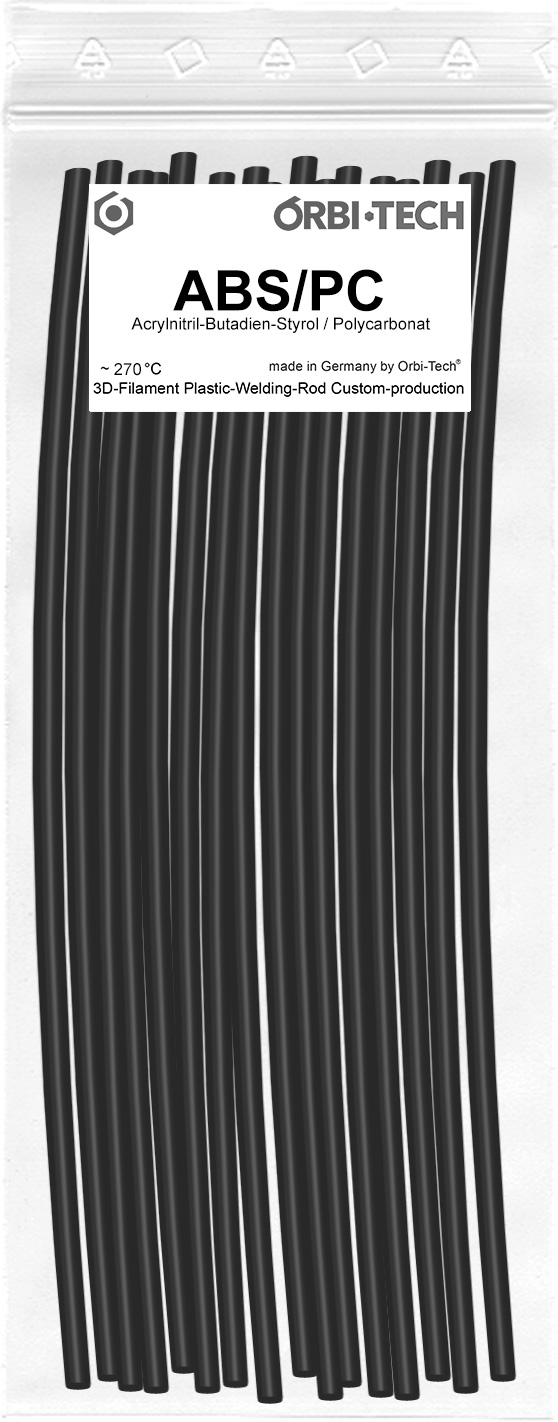
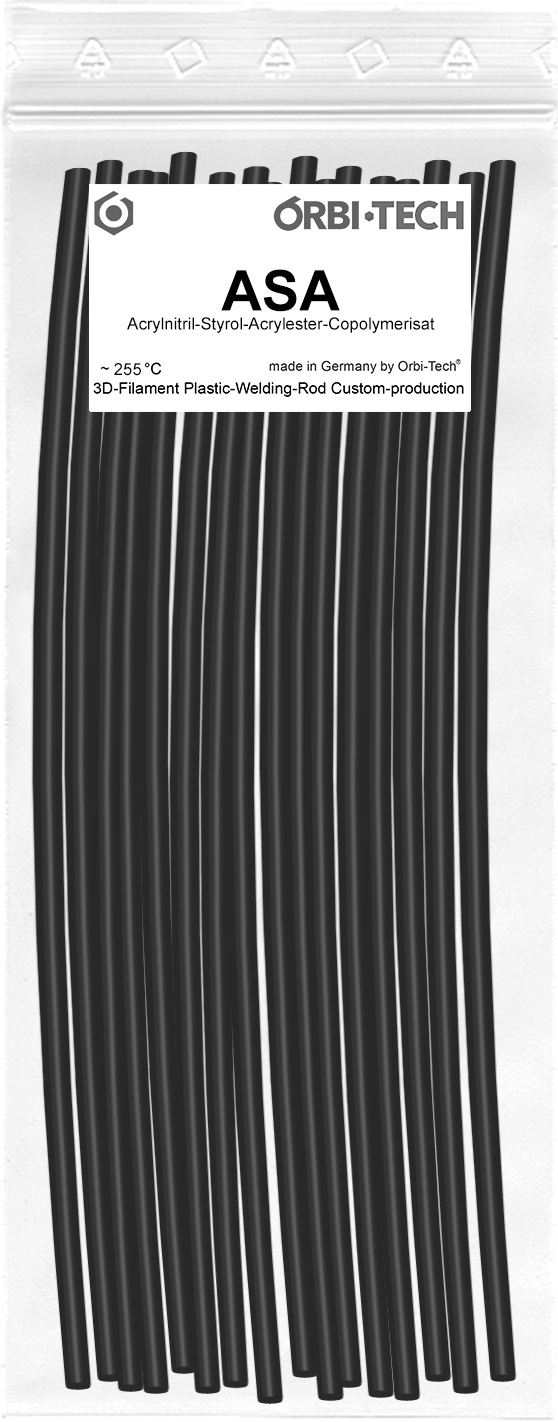
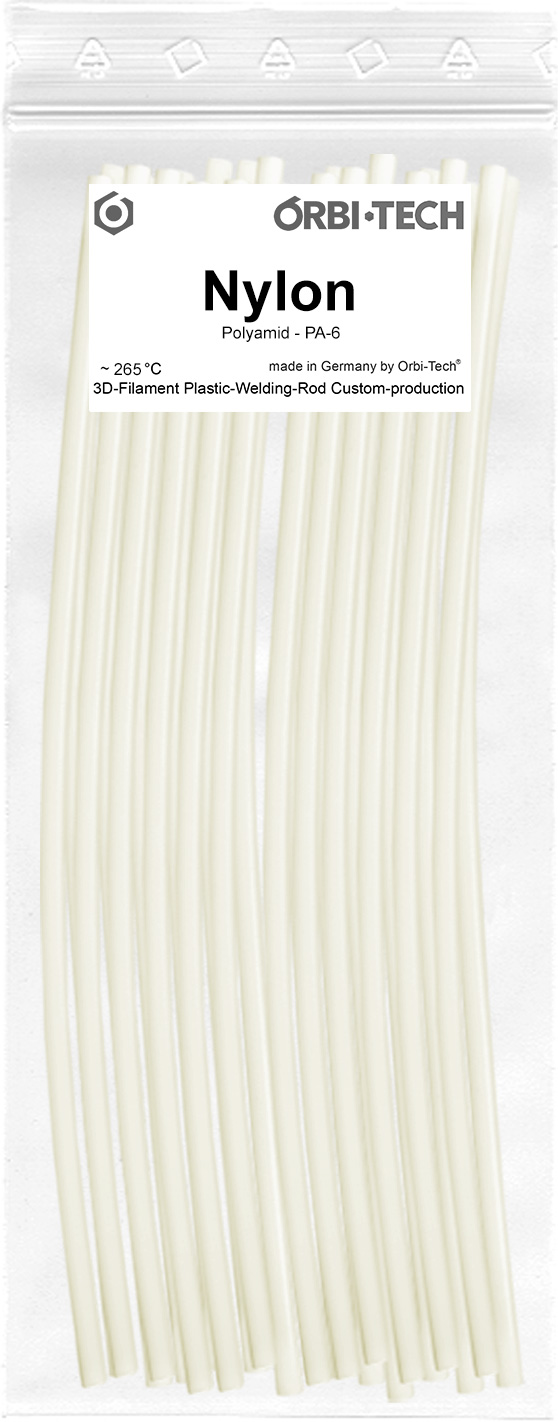


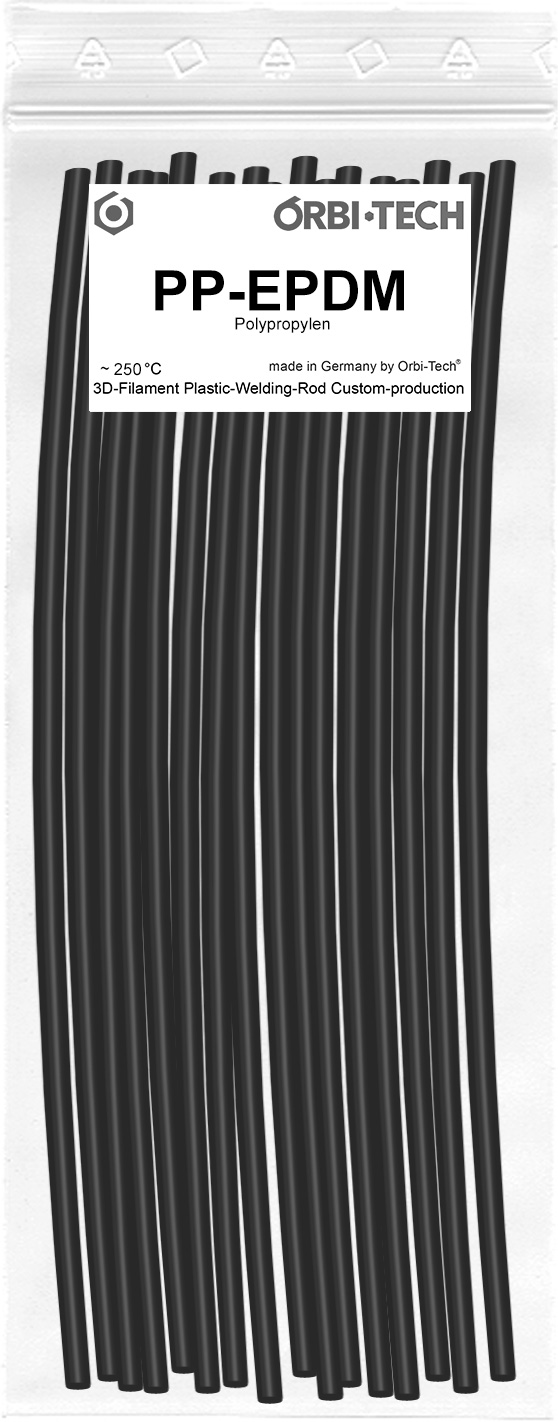

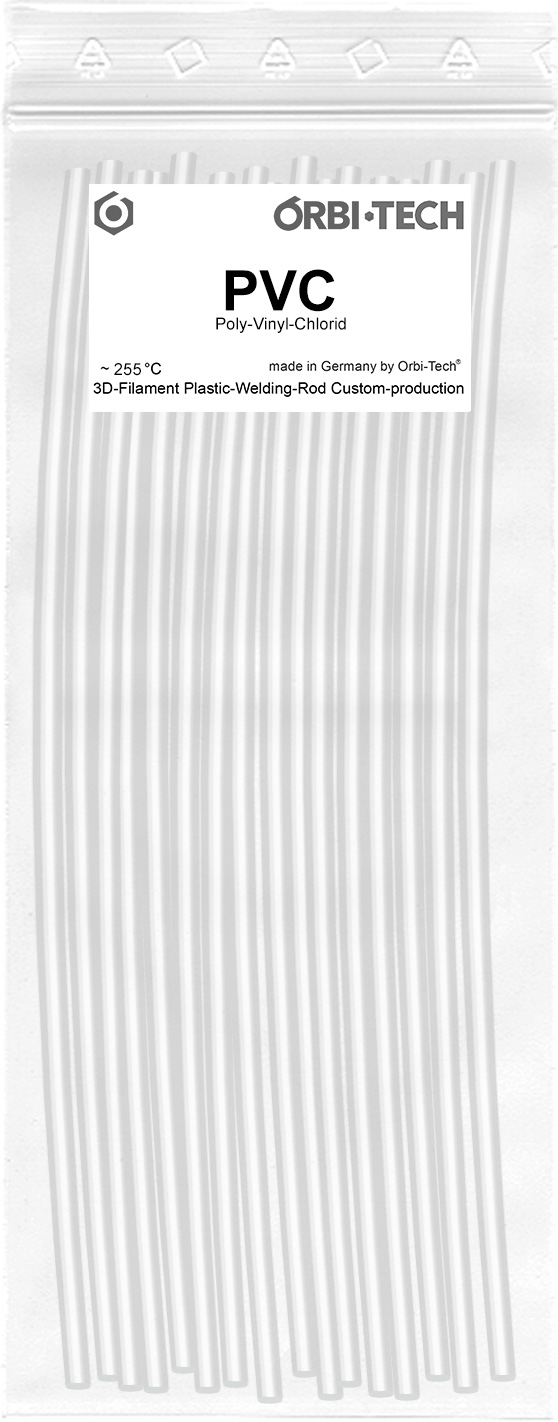

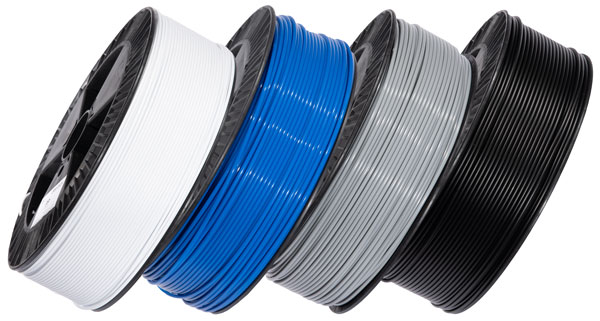
Plastic Welding Rod
We offer you a selection of plastic welding rods and the possibility of customised production.
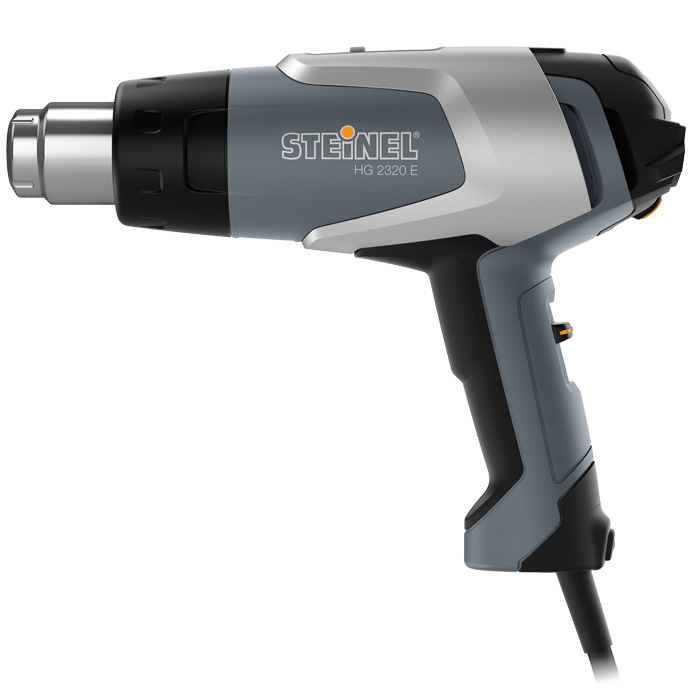
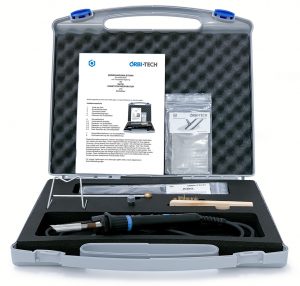
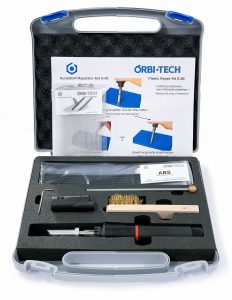
Hot Air Tool
Your low-cost solution for welding plastics and for many other applications.

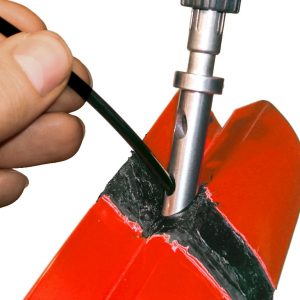
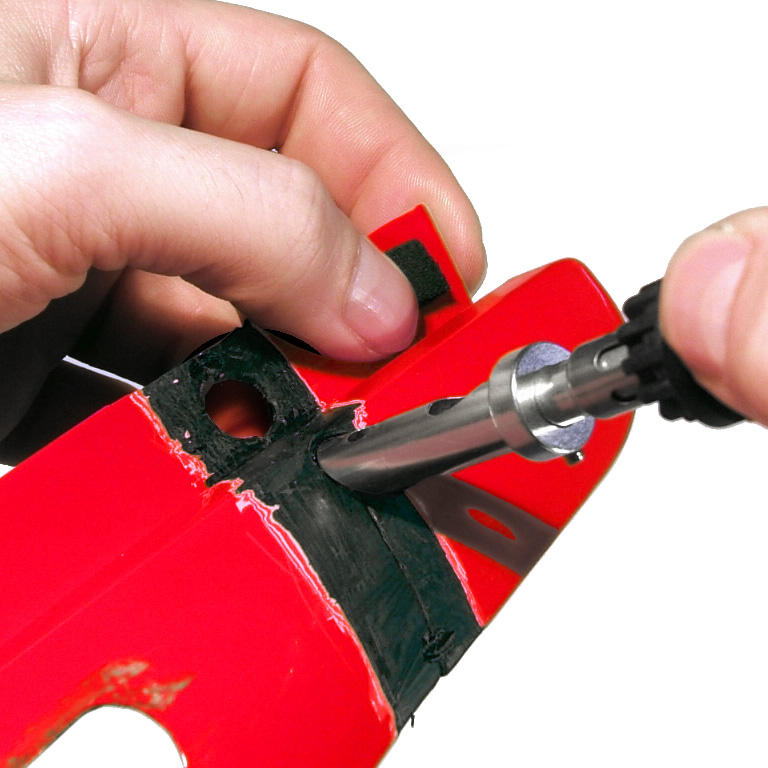
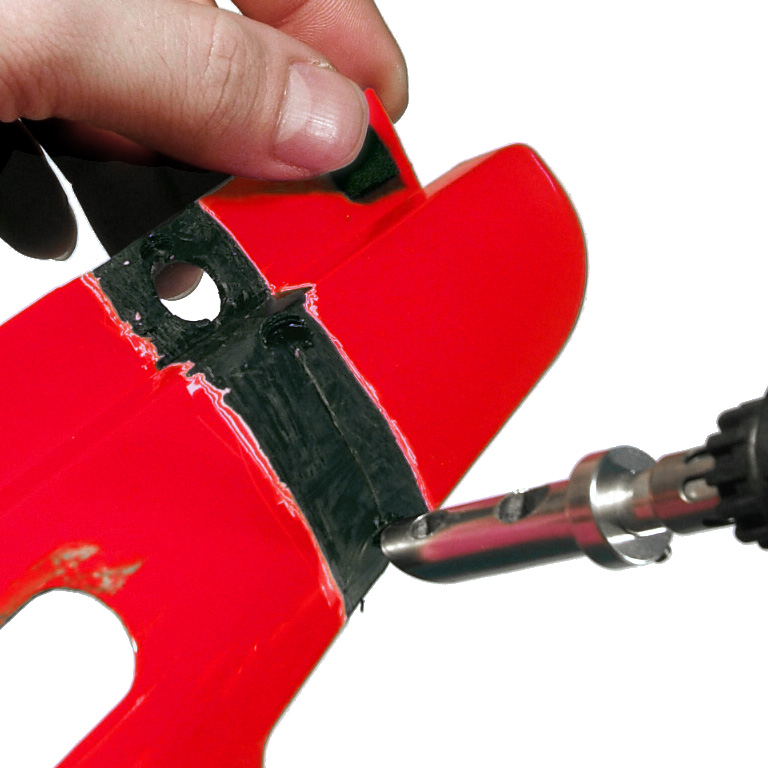
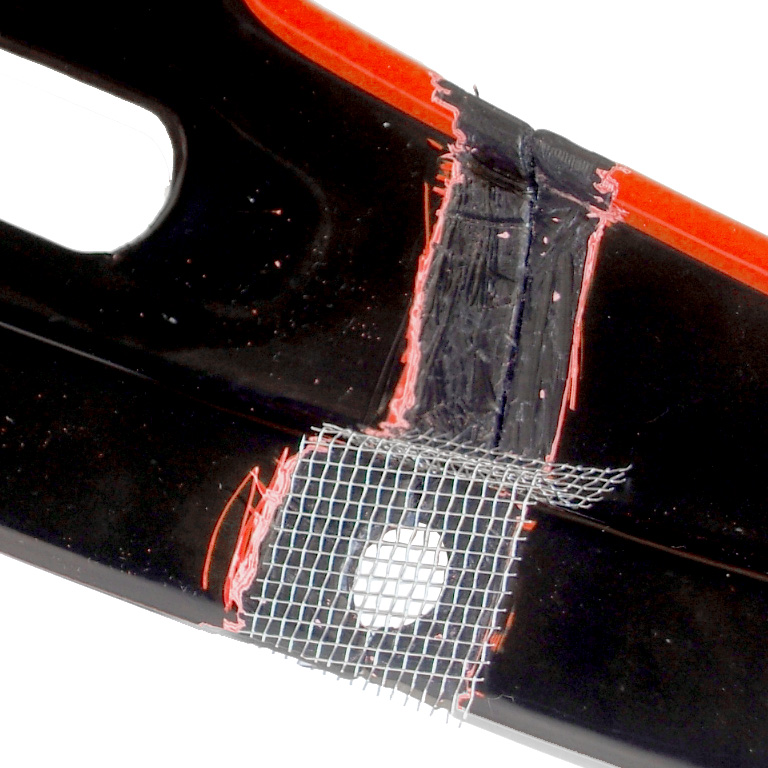
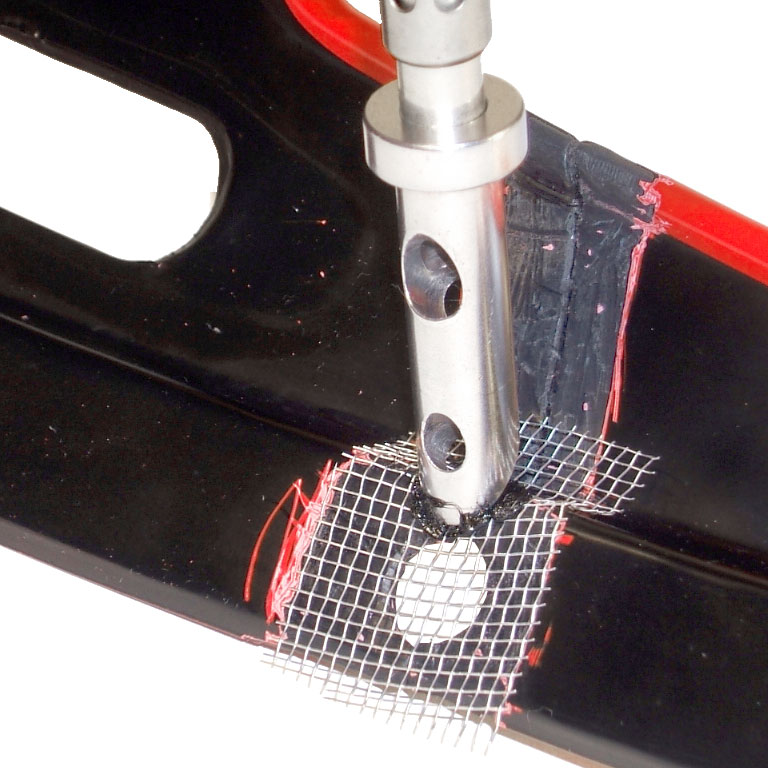
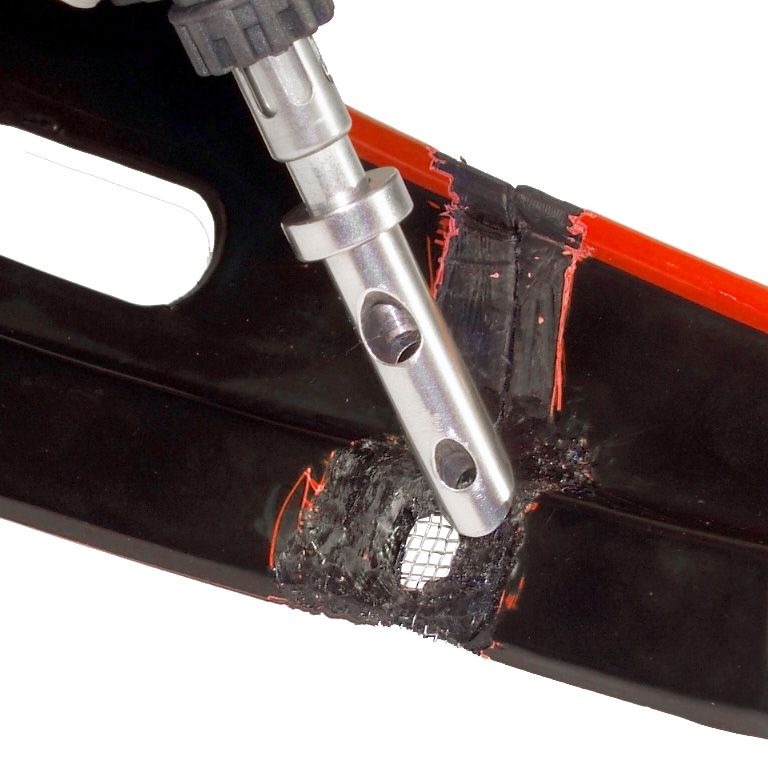
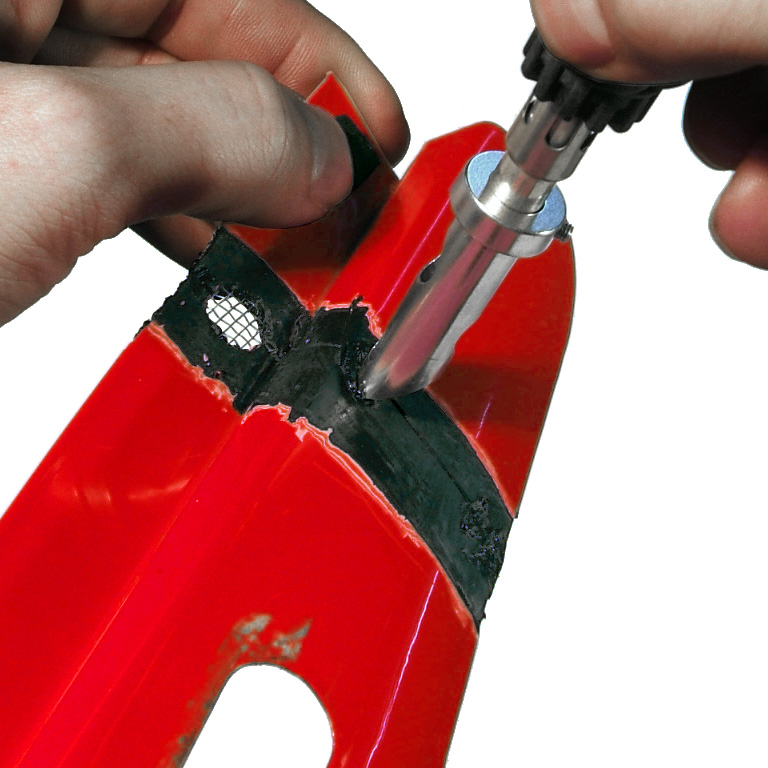
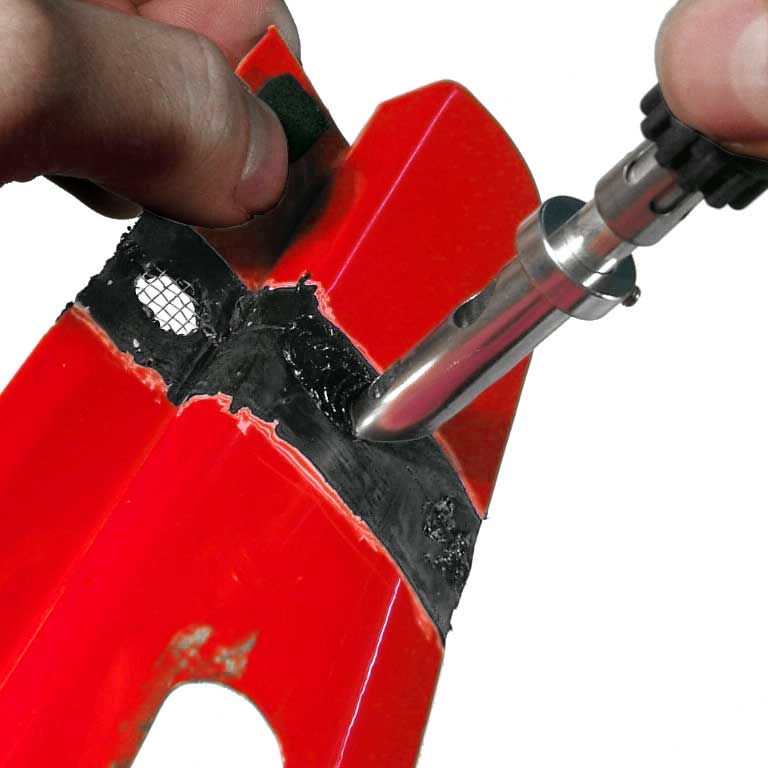
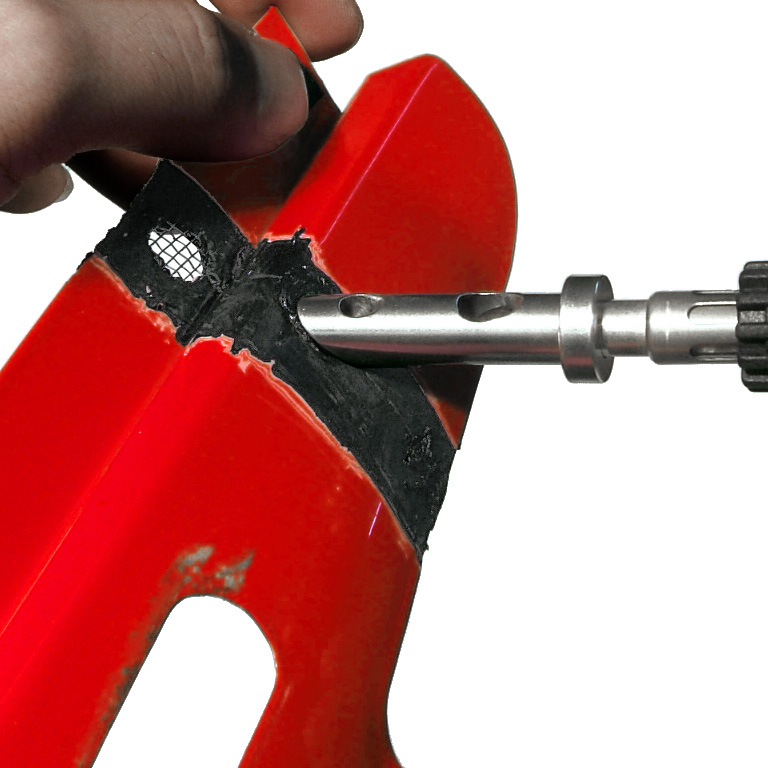
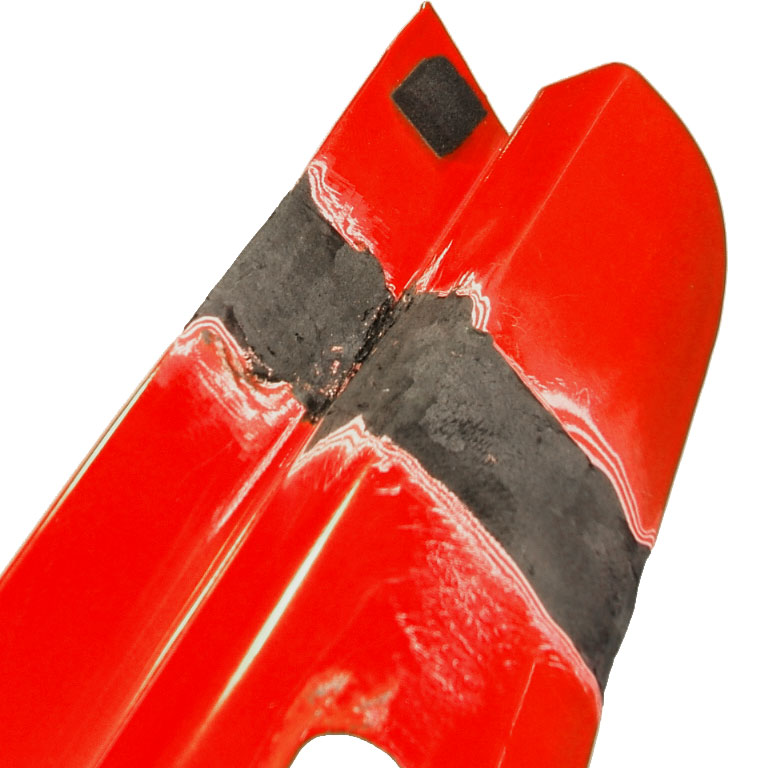
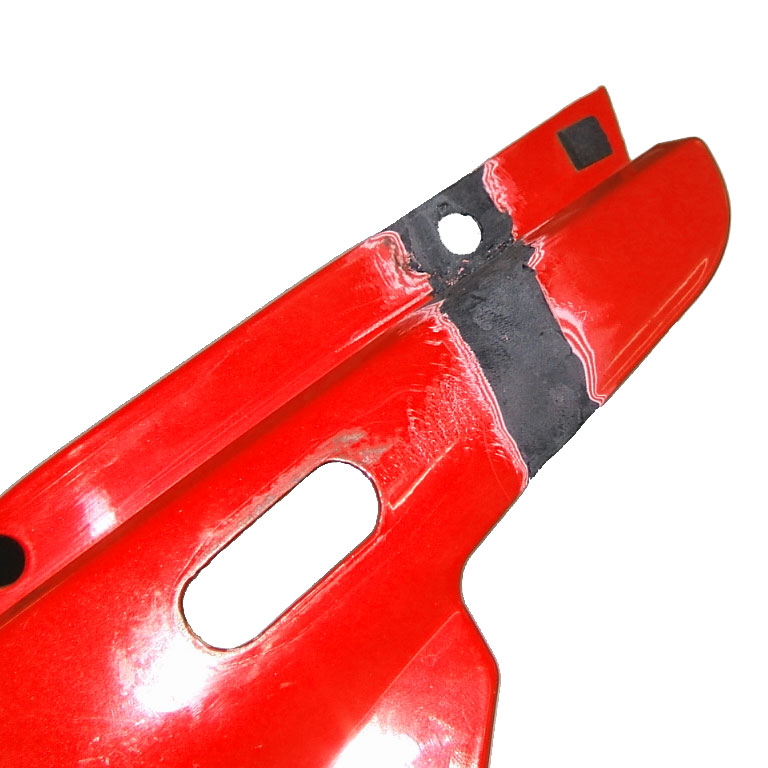
Injectiweld
For repairs, filling holes and blowholes and for the production of prototypes.
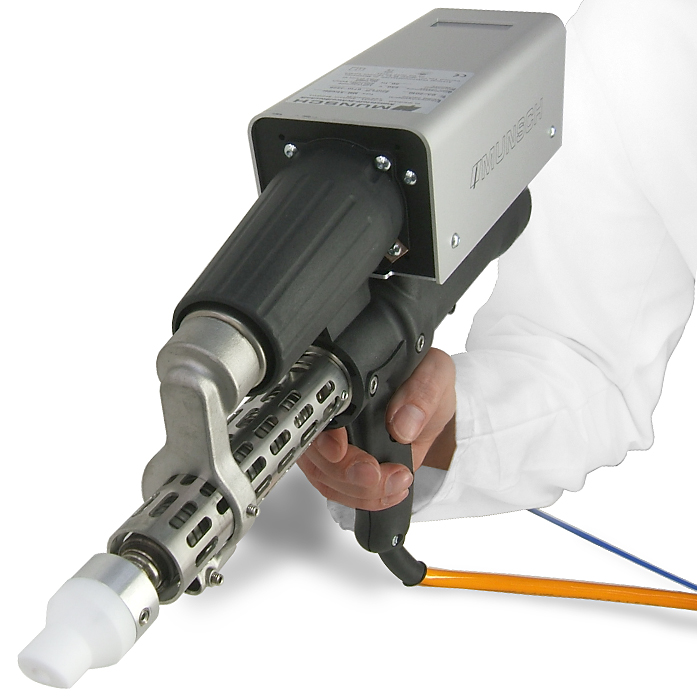
Extruder
Hand-welding extruder for container construction, design and series production.